
This guide is for you if you want to use your WooCommerce webshop with Vendino. We take you step-by-step through the entire process and get you up and running quickly!
Create API keys
To get started using WooCommerce with Vendino, you need to create a set of API keys. These keys are used by Vendino to talk to your webshop. You create the API keys in WooCommerce and we'll walk you through the process below.
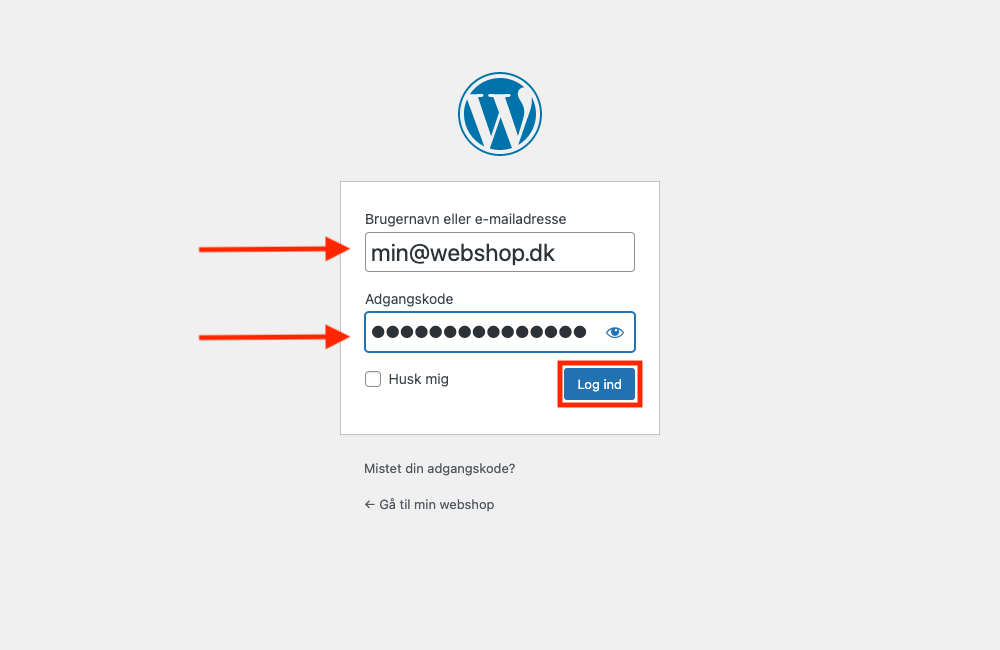
1. Go to WordPress and log in with an administrator account.
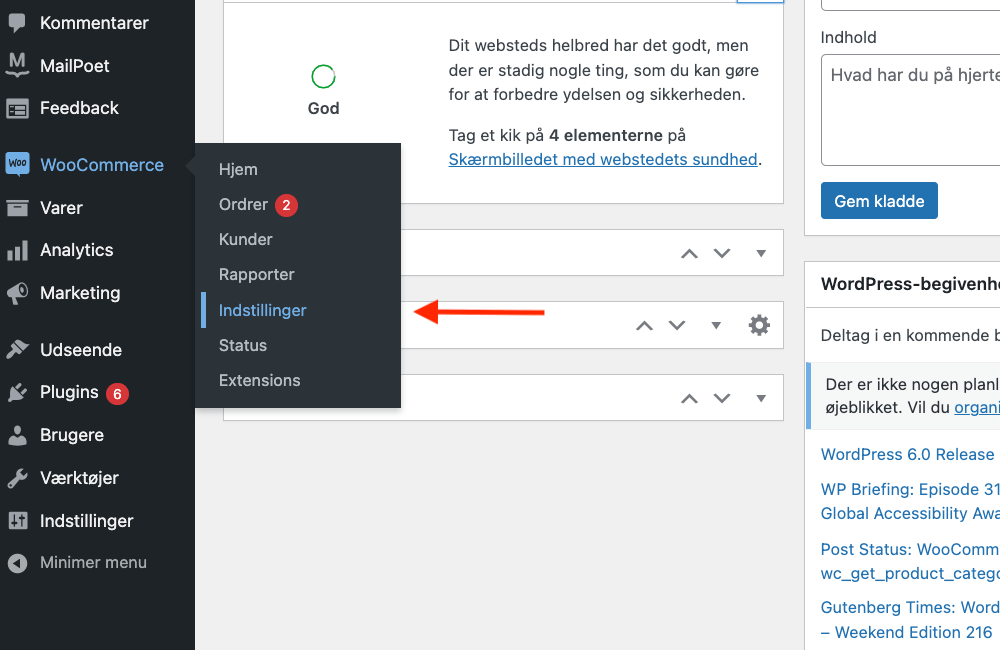
2. Go to WooCommerce > Settings
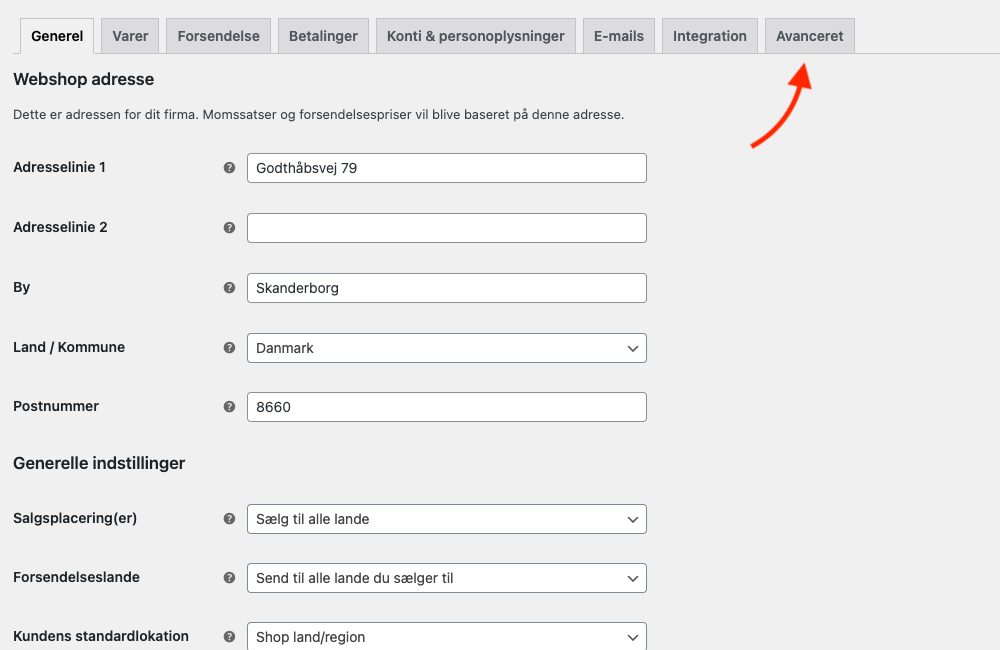
3. Go to the tab Advanced
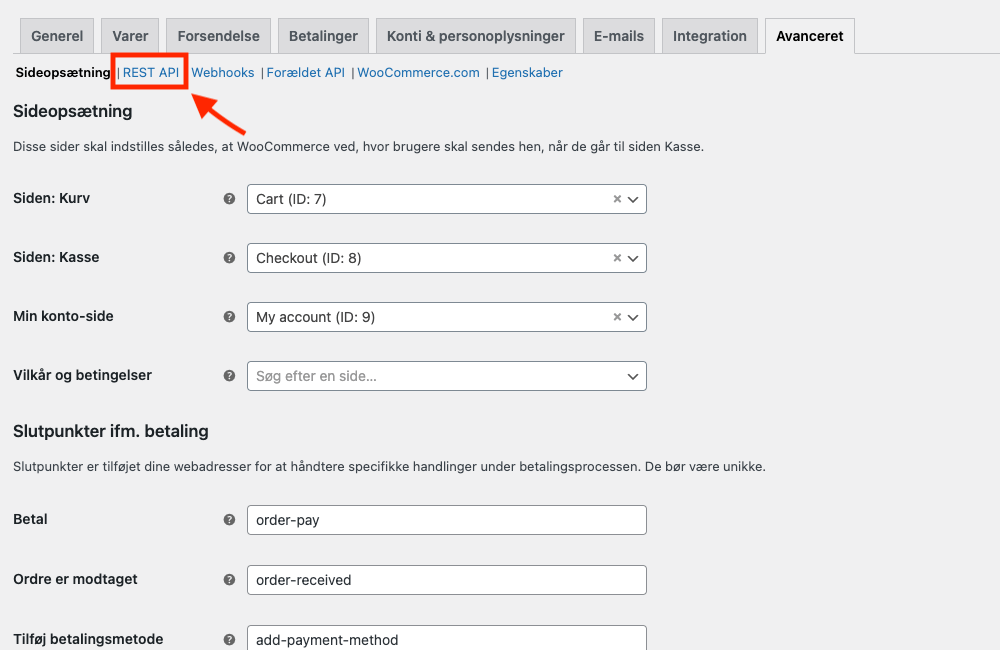
4. Go to REST API under the tabs.
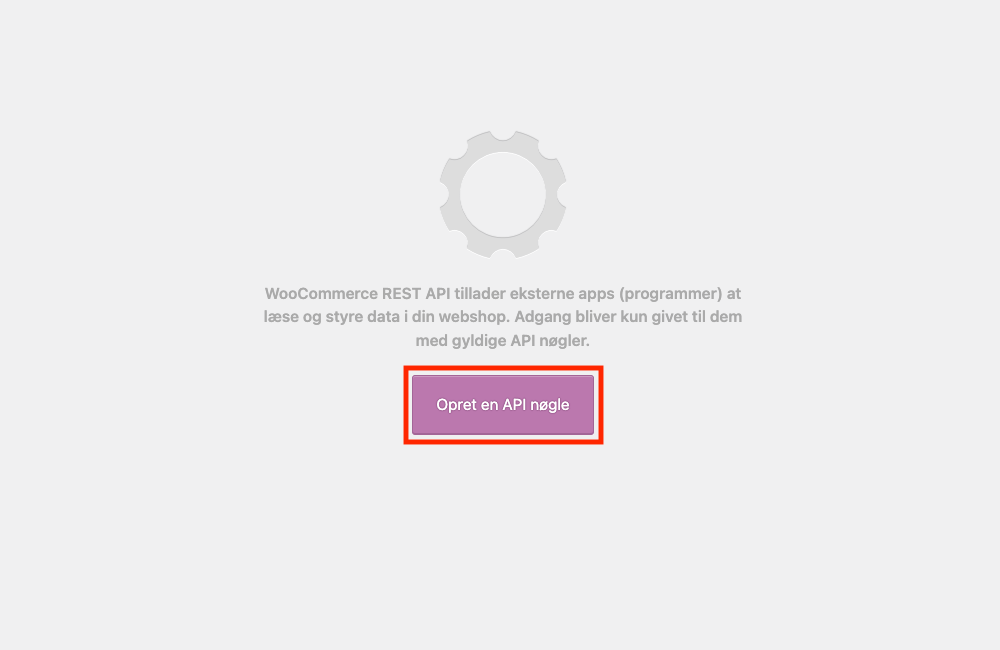
5. Click on Create an API key
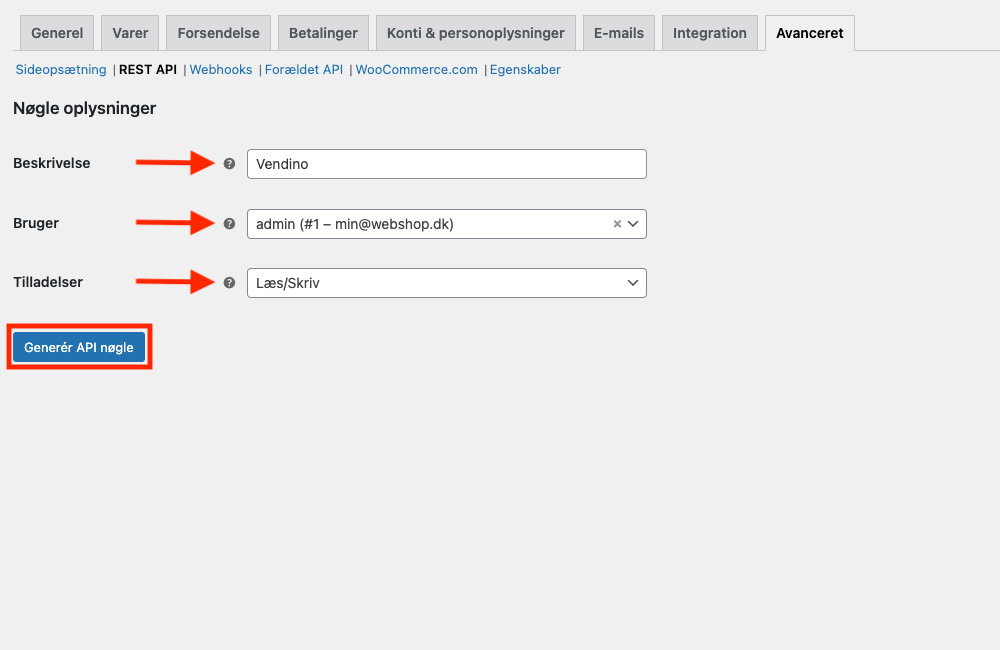
5. Create an API Key with the following values:
- Description: VendinoUser: [Your admin user]Permissions: Read/Write
6. Save/annotate customer key + customer password. You'll need them in the next section.
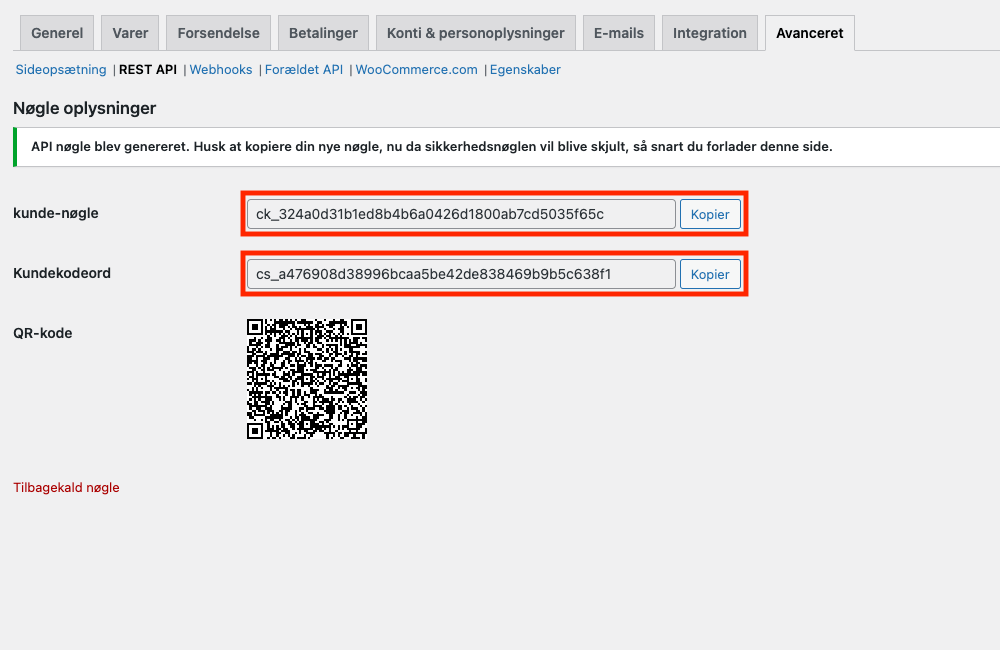
Please note
The keys will not reappear, so make sure you save them before moving on. If you lose your keys, you can make new ones by going back to step 4 before proceeding to the next step.
Create WooCommerce in Vendino
You're almost there! The last step is to set up WooCommerce on Vendino.
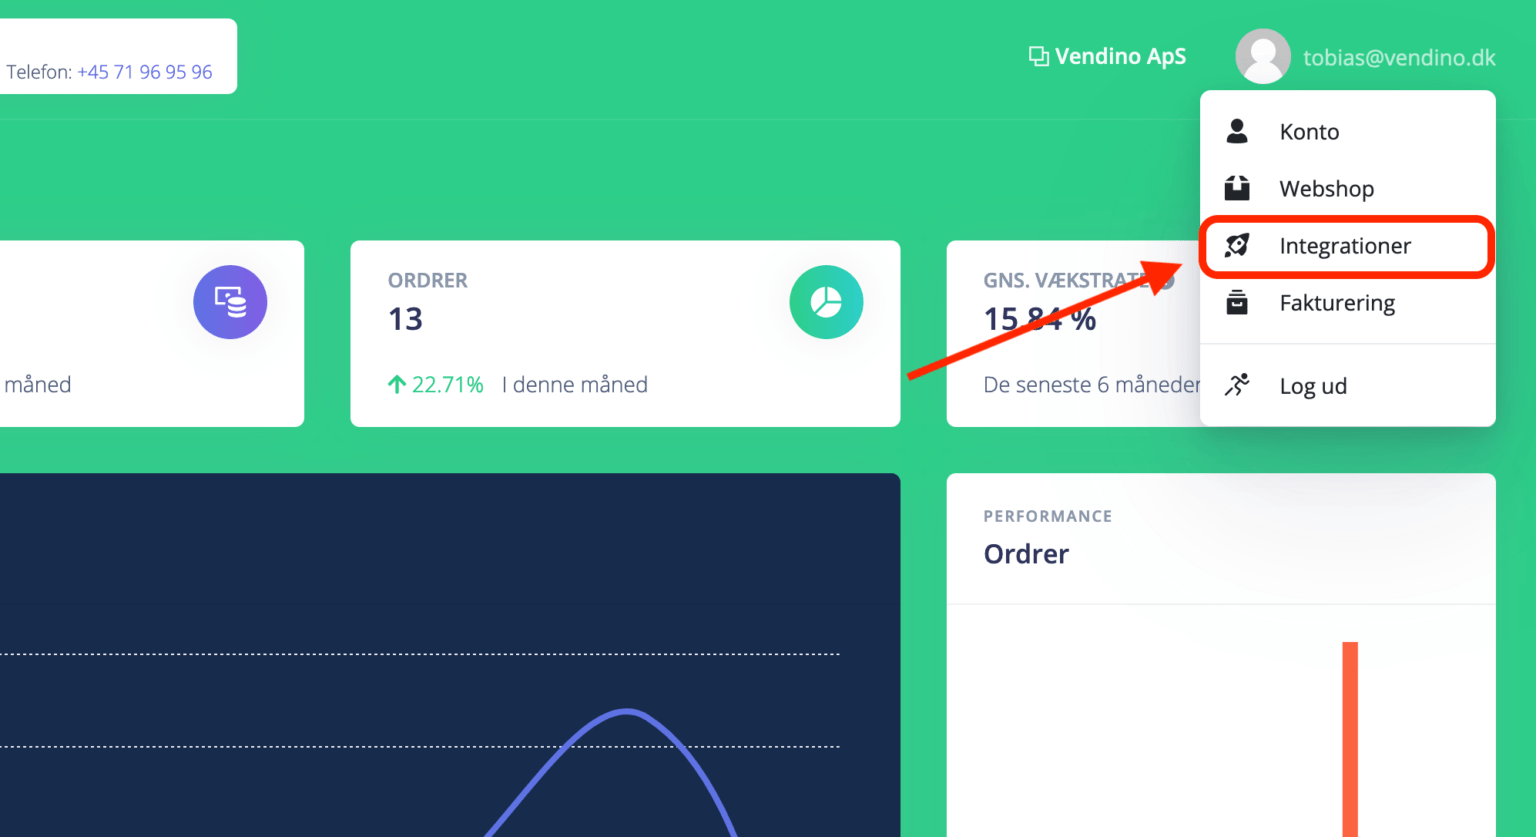
1. Go to Integrations
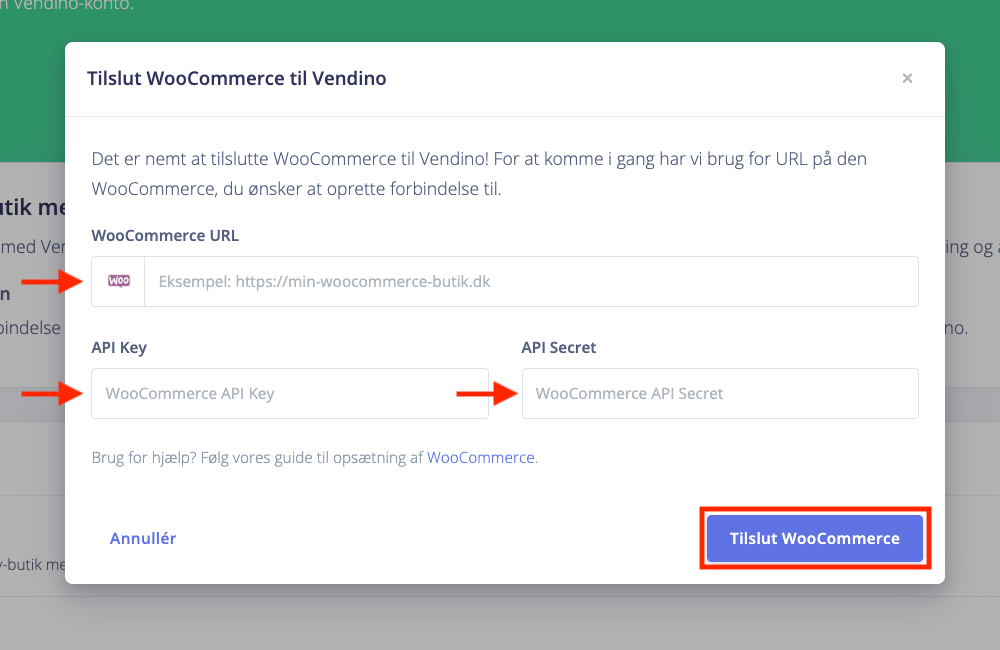
2. Select WooCommerce from the list and enter the following values:
- URL: [Your WooCommerce webshop, ex. "https://min-woocommerce-butik.dk"]API Key: [Consumer key from previous section]API Secret: [Consumer secret from previous section]
That's it! Your WooCommerce webshop is now connected to Vendino.
Leave a Reply